
Почувствовали привкус гари от новой спирали? Вероятно, вы пропустили этап пропитки. Пропитка означает замачивание хлопкового фитиля в жидкости для электронных сигарет перед началом парения. Это просто, занимает всего несколько минут и избавляет от ужасного привкуса гари. Давайте разберемся, как это сделать правильно.

Что такое испаритель для вейпа и почему важна предварительная подготовка (прокачка)?
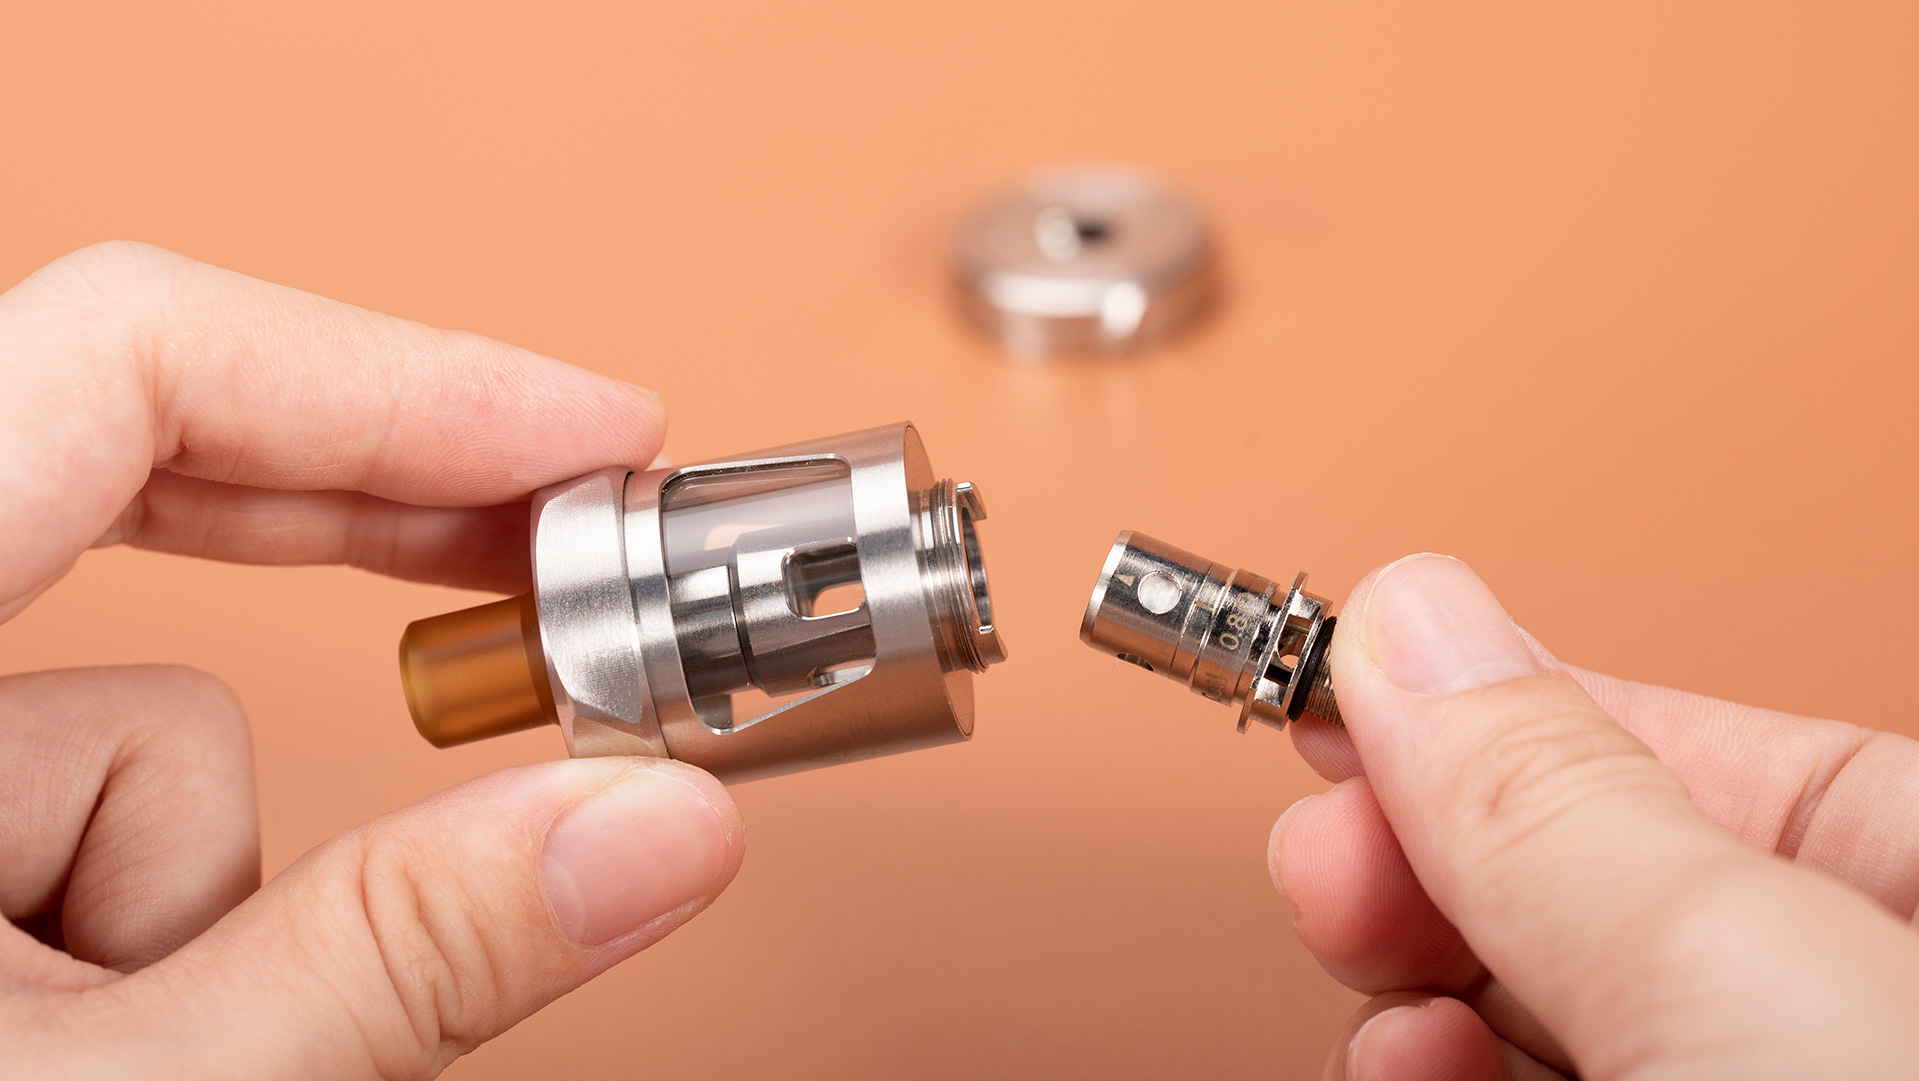
Прежде чем перейти к пошаговому руководству, необходимо понять, с чем вы имеете дело. испарительная спираль По сути, это сердце вашего устройства — та часть, которая нагревает жидкость для электронных сигарет и превращает ее в пар.

Основные части катушки
Каждая спираль состоит из двух основных компонентов: металлической проволоки (обычно кантала или нержавеющей стали) и хлопкового фитиля. Проволока наматывается на хлопок, и когда через неё проходит электрический ток, проволока нагревается. Хлопок удерживает жидкость для электронных сигарет и подаёт её на нагретую проволоку, образуя пар.
Как работает система фитиля
Представьте себе вату как губку. В сухом виде она легко горит. А если пропитана жидкостью, то без проблем выдерживает высокую температуру. Именно поэтому предварительная обработка так важна — вы должны убедиться, что губка полностью пропитана жидкостью, прежде чем включать устройство.
Различные типы катушек
Вы найдете катушки с различными уровнями сопротивления, Обычно сопротивление указывается в омах. Субомные спирали (ниже 1,0 Ом) производят больше пара и требуют больше жидкости. Спирали с более высоким сопротивлением (выше 1,0 Ом) потребляют меньше энергии и хорошо подходят для парения в стиле «изо рта в легкие». Оба типа требуют правильной подготовки, хотя субомные спирали часто требуют немного больше внимания, поскольку они сильнее нагреваются.
Что произойдет, если пропустить предварительную подготовку грунта?
Вот в чём дело.: Если вы зажжете сухую спираль, хлопок мгновенно сгорит. Как только это произойдет, ущерб будет нанесен. Вы будете чувствовать привкус горелого хлопка каждый раз, когда будете парить, и вам придется заменить спираль. Это пустая трата денег и ужасный опыт, которого можно было бы избежать, потратив всего несколько дополнительных минут на подготовку.
Как правильно подготовить испаритель для вейпа к использованию.
А теперь самое главное. Грунтовка несложна, но нужно быть терпеливым и внимательным. Если поторопитесь, пожалеете.
Метод ручного капельного закапывания
Начните с осмотра вашей новой спирали. Вы увидите белый хлопок, просвечивающий через отверстия для фитиля по бокам. Возьмите флакон с жидкостью для электронных сигарет и аккуратно капните несколько капель прямо на хлопок через каждое видимое отверстие для фитиля. Сделайте то же самое с верхним отверстием, где виден хлопок. Цель — увидеть, как хлопок меняет цвет по мере впитывания жидкости — он должен стать темнее и насыщеннее, а не белым и пушистым.
Сколько времени нужно дать ему постоять?
После того, как вы вручную пропитаете хлопок жидкостью, вкрутите спираль в бак и залейте жидкость для электронных сигарет. Затем начинается самое сложное: ожидание. Оставьте устройство в покое как минимум на 5–10 минут.. Это даёт жидкости время полностью пропитать весь хлопок, включая те части, которые не видны внутри спирали. Если вы используете жидкость с высоким содержанием VG (более густой) лучше подождать немного дольше.

Обкатка вашей новой катушки
После окончания периода ожидания не включайте устройство на полную мощность. Начните с нижней границы рекомендуемого диапазона мощности вашей спирали (проверьте боковую сторону спирали — там будет указан диапазон). Сделайте пару коротких затяжек, не активируя устройство (так называемые «праймерные затяжки»). Это создаст вакуум, который втянет больше жидкости в хлопок. Затем начните парить на низкой мощности и постепенно увеличивайте мощность в течение первого использования жидкости.
Правильная настройка параметров питания
Большинство современных устройств поддерживают автоматический режим, и это отличный вариант по умолчанию, если вы новичок и не знаете, где его настроить. ваттность. Включите автоматический режим, установите спираль и дайте устройству считать сопротивление (в омах). Как только оно обнаружит спираль, оно автоматически отрегулирует мощность до подходящего уровня для данной намотки. Вы можете немного попарить в этом режиме, а затем переключиться в ручной режим, если вам потребуется более точный контроль, но автоматический режим помогает избежать слишком быстрого повышения мощности и перегрева хлопка.
Как долго служат испарители для электронных сигарет?
Вы идеально подготовили катушку, но ничто не вечно. Давайте поговорим о реалистичных ожиданиях.
Типичные диапазоны продолжительности жизни
Большинство катушек служат около недели. Как правило, срок службы испарителя минимален, но на самом деле он сильно зависит от вашей техники использования и привычек — при умеренном использовании он часто служит дольше. Универсального числа нет, но если он служит меньше недели, значит, проблема либо в технике, либо в вашей системе.
Что влияет на срок службы катушек?
Ваши привычки в вейпинге имеют наибольшее значение. Беспорядочное парение (затяжка за затяжкой без перерывов) не дает хлопку времени на повторное насыщение влагой, что приводит к сухим затяжкам и сокращает срок службы спирали. Мощность, которую вы используете, тоже имеет значение — чем выше мощность, тем быстрее изнашивается спираль. Конечно, частота парения также играет роль.
Состав жидкости для электронных сигарет и срок службы испарителя.
Вот чего многие вейперы не понимают: сладкие жидкости для электронных сигарет быстрее изнашивают спирали. Те самые десертные и конфетные ароматы, которые вы так любите? Они содержат подсластители, которые карамелизуются на спирали, образуя налет, забивающий хлопок и снижающий производительность. Жидкости с высоким содержанием VG более густые и могут плохо впитывать жидкость в некоторых спиралях, что также сокращает срок их службы.
Ваши модели использования
Если вы много парите и ежедневно используете несколько баков, ожидайте, что будете менять испарители чаще, чем тот, кто парит время от времени. Так уж это устроено. Следите за качеством вкуса — если ваш пар начинает казаться приглушенным или немного странным, это предупреждающий знак того, что... катушка выходит из строя.
Распространенные ошибки при подготовке испарителя для вейпа к использованию

Даже опытные вейперы иногда допускают ошибки. Вот ловушки, которых следует избегать.
Ускорение процесса
Самая распространённая ошибка? Нетерпение. Вы капаете немного жидкости на спираль, заполняете резервуар и сразу же начинаете парить на полной мощности. Это прямой путь к горящей вате. Жидкости нужно время, чтобы полностью пропитаться. Эти 5-10 минут ожидания — это не просто желательный, а необходимый шаг..
Перенасыщение катушки
Да, при прокачке можно использовать слишком много жидкости. Если вы залите катушку жидкостью, то получите... бульканье, плевки и утечка. Вам нужно, чтобы вата была хорошо пропитана, но не переувлажнена. Если жидкость скапливается в резервуаре или попадает вам в рот, значит, вы переборщили. Нескольких капель на каждое отверстие для фитиля достаточно.
Игнорирование инструкций
Каждая спираль индивидуальна. Некоторым требуется более тщательная подготовка. Прочитайте инструкцию на упаковке или маркировку на самой спирали. Производитель протестировал свой продукт и знает, что работает лучше всего. Если он рекомендует определенный способ подготовки или определенный диапазон мощности, значит, на это есть веская причина.
Начиная с максимальной мощности
Диапазон мощности вашей спирали имеет максимальное значение не просто так, но это не значит, что с него нужно начинать. Начинать с высокой мощности на новой спирали — это как давить на педаль газа до упора на холодном двигателе. Начните с низкой мощности, постепенно обкатывайте спираль и постепенно увеличивайте её. Ваши спирали прослужат дольше и вкус будет лучше.
Часто задаваемые вопросы
В1.Можно ли повторно использовать сгоревшую катушку после чистки?
Нет, Если спираль сгорела, повреждение хлопка необратимо. Возможно, вы сможете промыть её от грязи и сделать ещё несколько затяжек, но это не поможет. привкус гари останется. Некоторые пытаются замачивать спирали в водке или дистиллированной воде, чтобы продлить срок их службы, но это работает только для спиралей, которые сильно загрязнены, но не сгорели. Если вы чувствуете привкус горелой ваты, пора менять спираль. Попытки спасти сгоревшую спираль только испортят вам удовольствие и не стоят потраченного времени.
В2. Почему моя спираль быстрее сгорает при использовании определенных вкусов?
Сладкие и десертные ароматизаторы содержат искусственные подсластители, такие как сукралоза Эти вещества карамелизуются при нагревании. В результате на спирали образуется темный липкий налет, который забивает отверстия для фитиля и снижает способность хлопка впитывать жидкость. Ароматы, такие как заварной крем, пончики и конфеты, всегда быстрее изнашивают спирали, чем фруктовые или ментоловые. Если вы любите сладкие жидкости, смиритесь с тем, что вам придется чаще менять спирали, или чередуйте сладкие и несладкие ароматы, чтобы дать спиралям отдохнуть.
В3. Нужно ли предварительно заправлять испарители в картриджи?
Предварительно заполненные капсулы и некоторые капсульные системы Они не требуют ручной пропитки, поскольку уже герметизированы жидкостью во время производства. Однако, как и обычные испарители, многоразовые испарители все же нуждаются в той же процедуре пропитки. После установки нового испарителя дайте ему постоять 5-10 минут перед использованием и начните парить на более низких настройках мощности. Период ожидания помогает обеспечить полное насыщение хлопка, хотя вы не можете вручную капать на него жидкость, как это можно делать с традиционными испарителями.
Заключение
Подготовка испарителя занимает всего несколько дополнительных минут, но имеет огромное значение. Капните жидкость на хлопок, подождите 5-10 минут и начните парить на низкой мощности — вот и все. Пропустите эти шаги, и вы зря потратите деньги на сгоревшие испарители и будете ненавидеть каждую затяжку. Сделайте все правильно, и вы получите лучший вкус, более длительный срок службы испарителя и гораздо более приятное парение.
Готовы попробовать? Возьмите следующую спираль и дайте ей правильный старт. Если вы пополняете запасы спиралей или картриджей, Vaporesso упрощает подбор нужного сопротивления для вашего устройства — и затем так же тщательно подготавливает его перед первой затяжкой. Посмотреть Испарители Vaporesso и капсулы, Выберите сопротивление и начните с низкой мощности для максимально плавной обкатки.


